


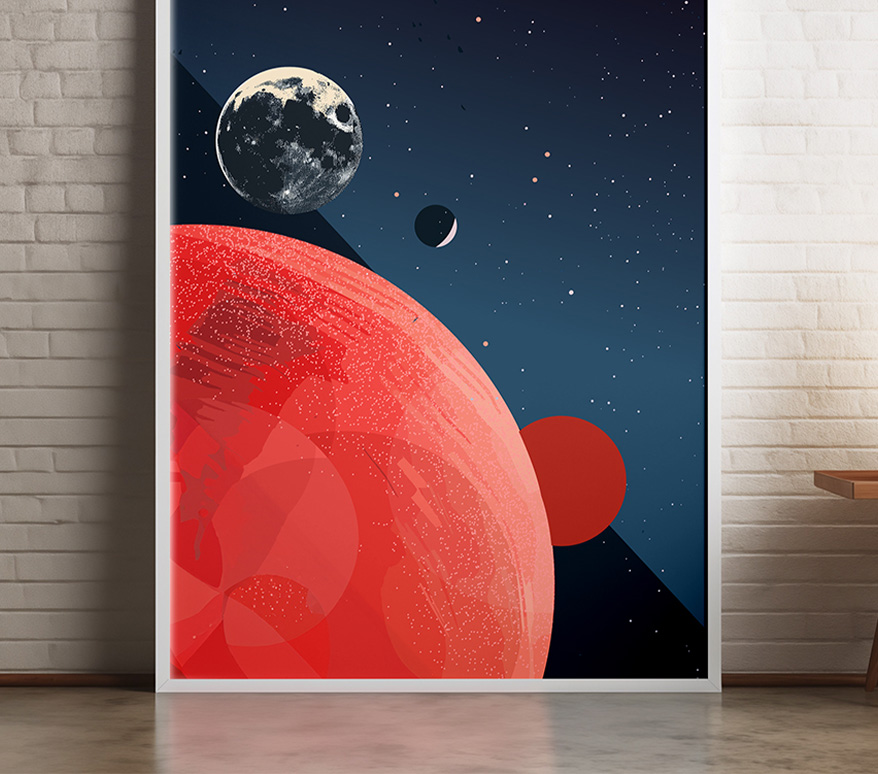
Before addressing how to maintain image quality post-capture, it’s crucial to highlight the significance of image quality from the outset. Whether using a professional DSLR or a smartphone, the image quality begins with proper capture techniques.
Settings Matter: Advise your clients to shoot at the highest resolution available and adjust exposure settings to avoid underexposed or overexposed images.
Composition Techniques: Encourage thoughtful framing, the use of natural light, and experimentation with angles to create dynamic visuals.
Editing Power: A few adjustments can enhance colours, sharpen details, and ensure images are print-ready. Remind clients that high-quality captures lay the foundation for stunning prints.
Selecting the right image source is crucial for achieving vibrant, high-quality results in large-format printing. Here are some key points to share with your clients:
Resolution is Key: High-resolution images (typically 150 DPI or higher) maintain clarity when scaled up. Emphasise that low-resolution images can lead to pixelation and compromise overall design impact.
File Formats Matter: Recommend using formats like TIFF or PNG, which preserve quality without losing detail. TIFF files are excellent for images requiring high fidelity, while PNGs are ideal for layered graphics due to their transparency options.
Getting artwork ready for large-format printing is vital for achieving stunning results. Share these best practices with your clients:
Set Correct Dimensions: Ensure the document size matches the final print dimensions to avoid surprises. You can provide templates available on your website to assist them, complete with bleed, safety, and cut lines. Alternatively, suggest using your free Design Online Tool.
Work in CMYK: Always use the CMYK colour mode (Cyan, Magenta, Yellow, Key/Black) to guarantee accurate colour representation in the final print. RGB (Red, Green, Blue) may appear vibrant on screens but can lead to disappointing print outcomes.
Consider Bleeds and Safe Zones: Advise clients to extend artwork into the bleed area to avoid unwanted white borders. Keeping important elements within the safe zone, typically around 20mm inside the cut line, helps prevent cutting mishaps.
Optimising image quality is essential to ensure that visuals are striking. Here are strategies for your clients:
Careful Scaling: When resizing images, recommend tools that maintain resolution to prevent pixelation.
Enhancements: Encourage clients to use sharpening and enhancement techniques to bring out fine details and vibrant colours.
Avoid Excessive Compression: While it may save space, excessive compression can lead to a loss of clarity and detail, which is crucial for high-quality prints.
By following these guidelines, your clients can achieve visuals that captivate and leave a lasting impression. Reassure them that your team will conduct a free 30-point artwork check to flag any potential issues, including image resolution.
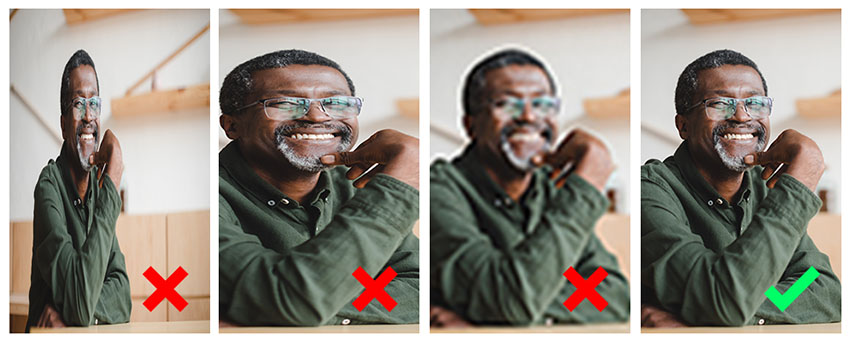
Before printing any job, it’s essential to proof artwork to ensure it meets client expectations. Here’s how to guide your clients through the process:
Online Proofing: Advise them to thoroughly review the proof by zooming in on the PDF at 300%. This close-up view helps identify potential issues with resolution and image quality.
Approval Process: Once satisfied, clients can approve and send the artwork, or they can reupload their files after making changes.
Artwork Check: Each submission undergoes a rigorous free 30-point artwork check, where your team flags any image-related issues. While your team can’t check for spelling or dates, they perform 30 key checks to ensure designs are print-ready, giving you and your clients peace of mind.
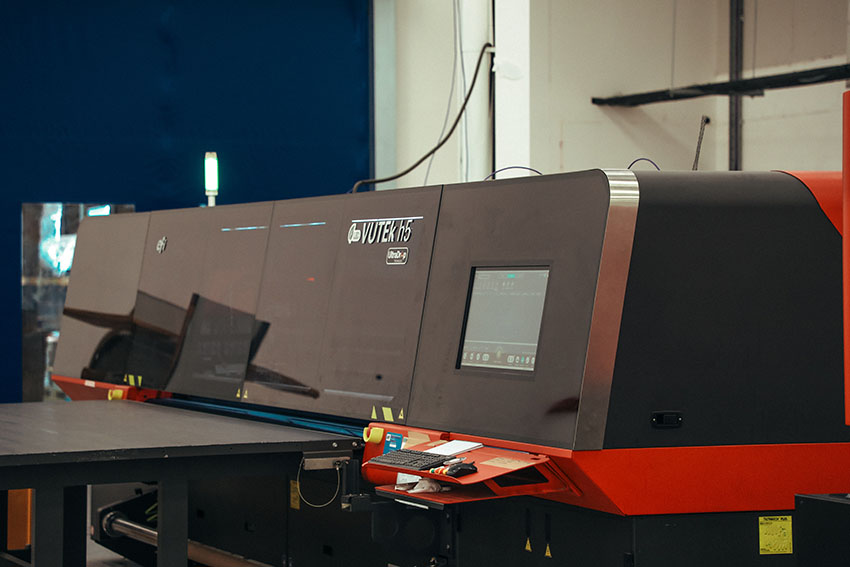
Once your client’s artwork has been approved, sit back and let us here at we1print take over, harnessing cutting-edge technology to ensure their images look their absolute best. We’ve invested in industry-leading printers for a reason:
EFI VUTEk FabriVU 340i+: Perfect for stretch fabric displays and flags, this printer delivers vibrant, high-quality prints that create show-stopping designs.
Vutek EFI Q3r: Ideal for roller banners, PVC, PVC-free, and mesh banners, this powerhouse printer ensures precision and clarity, making images truly stand out.
EFI Vutek H5: For flat media needs—such as dibond, Correx®, or foam board—this printer brings designs to life with sharp details and eye-catching colours.
Maintaining image quality in large-format printing involves selecting the right image source, preparing artwork correctly, and utilising our state-of-the-art printing technology. By applying these tips, your clients can enhance their projects and distinguish themselves in a competitive market. If they have any questions or need assistance, remind them that our friendly team is always ready to support them, ensuring their next large-format print is a success!


